When printing a report, please note that the map image is not consistent with the scale bar or scale text shown on the report. A disclaimer has been added to the Print Report screen to notify users about this discrepancy. Please be assured this issue only affects the Print Report function; the on-screen display scale remains accurate.
Use the print feature to print what is displayed in the ParcelMap BC parcel fabric.
Pan and zoom to the location you want to print. Ensure all the layers that you want to print are selected with a check mark. Any layers that should be omitted should not be checked.
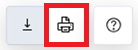
Click the Print Map icon
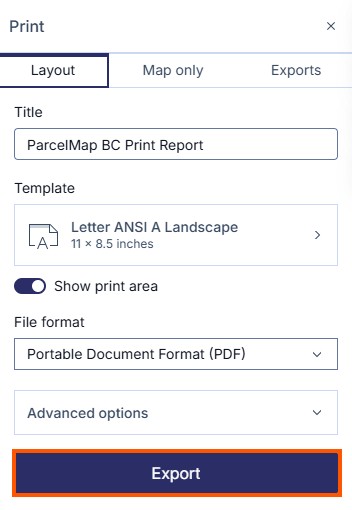
Optionally, enter in a name for your print in the Title field
Select a Template from the drop-down menu to specify the paper dimensions of the printed map
- By default, Show print area is enabled, allowing you to see what will be printed on a outline of the template you chose.
Select a File Format from the drop-down menu to specify the output format of the printed map
Optionally, click on the Advanced options field for more options to customize the printed map:
- Set scale
- Author (this is an editable field)
- Set DPI - The higher the DPI, the sharper the output and the larger the file size
- Include legend (off by default)
- include north arrow (on by default)
To print a map-only version without panels, tools, and other elements, press the Map only tab
Click Export to generate a PDF print. Additional searches and map navigation can be done while the PDF print is being generated. Additional exports can also be queued.
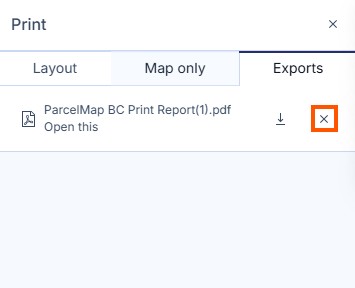
To view the printed map, click the map title link in the Exports tab. Once the PDF print has opened in the PDF viewer, you can save or print the map to a physical printer.
Your prints will be retained for your session. To remove any generated printed maps, click the (x) button next to any map you wish to delete or logout of myLTSA which will clear your prints.